


At its most basic definition, cider is an alcoholic, fermented apple juice. It’s a drink that’s widely available and popular throughout the UK and in fact, the UK drinks more cider than any other country in the world. [1] Britain is one of the world’s leading producers of cider, with an estimated 56% of all apples grown in the UK used to create the beverage. [2]
But how is it made? Read our step-by-step guide to find out:
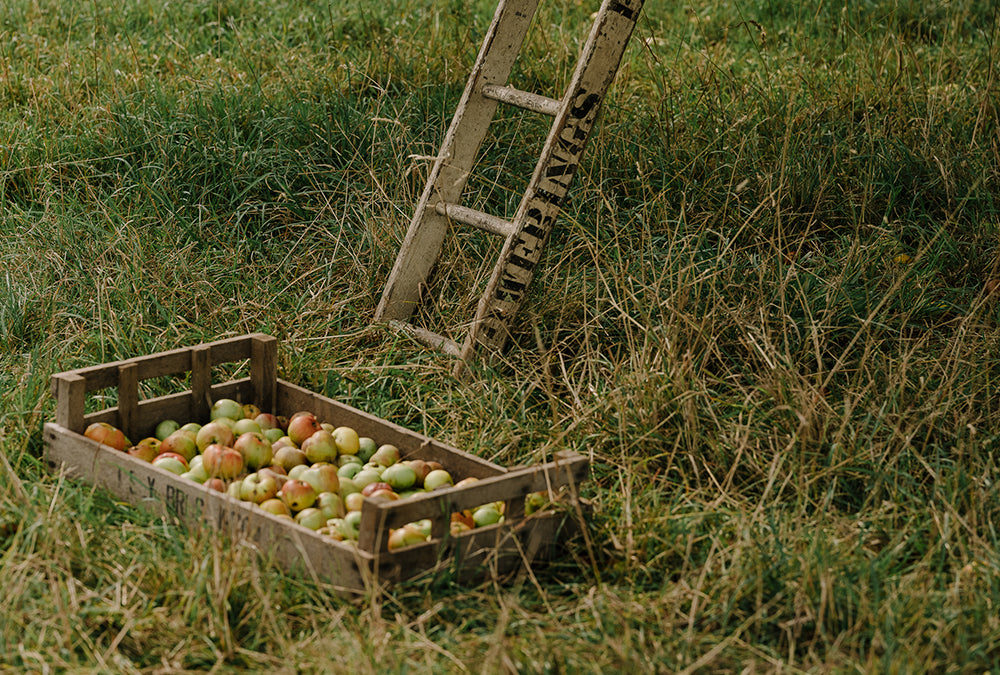
Step 1: Gathering
Firstly, the apples need to be chosen and gathered. In the South East of England, ciders have historically been made with eating apples, but traditional, West Country style ciders, however, are made from specific varieties of apple that have been grown for centuries solely for the purpose of making cider. [3]
The great thing about making cider is that just about any apple variety can be used, but ultimately, the flavour profile will vary depending on which apple variety, or combination of varieties, are used.
For wine-making or brewing, the choice of grape or barley and hops alters the attributes of the final product. Whereas with cider-making, it’s the choice of apples, whose balance of sugar, acid and tannin can affect the rate and nature of the fermentation and therefore the quality of the cider. [4]
Many apples are known for cider-making, including the Foxwhelp, Kingston Black, Yarlington Mill and Dabinett. The biggest difference between cider apples and those found in gardens are the level of tannin within them. Tannin is a bitter tasting, organic substance present amongst all apples, and cider apples contain a lot of tannin, hence they produce a distinctive, bitter flavour. [5]
There are four types of cider apples: sharp, bittersharp, sweet and bittersweet. [5] Vintage quality apples, which are generally high in tannin, have more complex and interesting flavours than ‘bulk’ apples. [6]
In general, you can expect to obtain around 10 litres of apple juice for every 15-20kg of apples that are gathered.
Step 2: Blending
A few vintage quality cider cultivars such as the crisp Kingston Black or the fruity Stoke Red can produce really good single varietal ciders but most ciders are blends. [7]
Blending can take place at various stages of the cider making process: after being gathered, the apples can be put in groups based on their flavour and acidity, before they are milled and pressed. Or they can be pressed separately and blended before fermentation, once their different sugar and acidity levels have been measured. [8]
Step 3: Scratting
Once the apples have been gathered from the orchards, it’s time for scratching, or chopping up the apples. Essentially, apples need to be ‘prepared’ and ground down into a pomace which can then be pressed. [9]
Historically, this was done using pressing stones with circular troughs, often powered by a donkey, but now ‘scratter’ machines or electrical cider mills are used. [10]
The finer the apples are chopped, the more juice will be produced.
Step 4: Pressing
This pulp now needs to be squeezed, or pressed, in order to separate juice from the solid component, which is not wanted. This is done by applying pressure to the pulp and straining the juice through a suitable medium. Often, a cider press, apple mill or belt press is used, where the apple juice or ‘liquid gold’, is extracted.
Step 5: Fermenting
Fermentation of ciders occurs by a very similar mechanism to the fermentation of wine, which is why, unknown to many, cider is in many ways more similar to wine than beer.
The juice is poured into a vessel, yeast is added, and the juice is fermented so that the sugar is converted into alcohol and carbon dioxide. There are bacteria and microorganisms that can spoil the cider, but tight airlocks allow the CO2 out without letting anything else in. [11]
Step 6: Waiting
The cider will now sit for as long as it takes to soften and become palatable, which could be anywhere from a few weeks to a few months, depending upon the variety of apple that has been used. [12] It may look cloudy at first, but once the yeast has consumed most of the sugar, it sinks to the bottom and the liquid clears. The rate of fermentation depends on the temperature - it ferments a lot quicker in warmer conditions. [13]
Step 7: Bottling
After the cider has been left for a while, it’s ready for bottling. Sugar added to the bottles will restart the fermentation, and the carbon dioxide released gets dissolved into the cider and creates pressure. When the bottle is opened later, the pressure is released, allowing the gas to escape, which creates the sparkle. [14]
Step 8: Enjoying!
Now the best part… enjoying the glorious liquid gold!
Although cider is often enjoyed by the pint, many cider experts recommend drinking cider as you would wine.
Why not pour a wine-sized serving into a wine glass, served between 12-14°, with a meal, for the best possible drinking experience? If you’re storing your cider in the fridge, it’s advised you take it out around 15 minutes before you plan on drinking it.
As with wine, certain types of cider will pair better with different types of food. Apples and pork are traditionally paired together, but cider goes excellently with many kinds of foods. Additionally, cider can also be used in cooking. [15]
Enjoy this article? Read our next one to find out even more about cider.
About us: Showerings vintage cider making
Showerings uses aromatic late-season Dabinett apples from a single award-winning orchard in Somerset, the temperate heartland of British cidermaking and just seven miles from Showering’s cider mill. Want to know more about our delicious triple vintage cider? Then contact our team today.